Windows 7 clients automatically rebooting for updates – no notifcation – WSUS
Recently I had a call from a client saying that they’re having computers randomly reboot (without warning) to install Windows Updates. All machines were Windows 7, and they were all on the client’s domain. They had WSUS installed and configured, with GPOs to define the backup settings etc. In this case, the GPO stated that machines will automatically download and install updates at 4pm each day, and only reboot if there was no active user.
After checking the GPO, I was confident that the issue was not related to that, as it clearly stated that the computers won’t be rebooting automatically. I remoted into the workstations to ensure that they’re actually applying the GPO (gpresult /r), which they were. So it wasn’t GPO, and it wasn’t the workstations as far as I could tell.
I logged into WSUS itself, and checked the automatic approval settings. That was all setup and was approving certain updates (such as Critical Updates and Security Updates etc). When looking further down the Automatic Approval rules, I noticed that there had been a deadline set for installing the updates.


Increase Package Size – WSUS
Recently I was looking at an application called CSI, which ties into WSUS, and releases packages through WSUS for 3rd party applications (such as Java etc). This is a really good way to ensure that all applications are kept up to date, and managed through existing WSUS infrastructure.
I noticed that some packages were larger than the WSUS limit of 384mb. This is obviously a problem, as WSUS wouldn’t be able to package and push this out. In order to get around this, I’ve had to tell WSUS that the package size can be larger than that.
The following Power Shell commands will get this job done:
- Import-Module UpdateServices
- [reflection.assembly]::LoadWithPartialName
- (“Microsoft.UpdateServices.Administration”) | out-null
- $wsus = [Microsoft.UpdateServices.Administration.AdminProxy]::GetUpdateServer();
- $serverconfig = $wsus.getConfiguration()
- $serverconfig.LocalPublishingMaxCabSize = 1024
- $serverconfig.Save($FALSE)

Define Start Screen Layout – Server 2012 R2 – Remote Desktop Services
Whilst setting up RDS Session Hosts today, I wanted to define the Start Menu layout for all users who will be logging in.
This TechNet article is rather handy for steps on how to export your start menu config, and then set it up under local group policy for all staff:
https://technet.microsoft.com/en-us/library/dn467928.aspx
Specify RDS Licensing Server from Session Host – 2012 R2
Earlier today I was setting up two new Session Hosts for a client, where we were creating a new collection. Setting up the first one worked fine, but when logging into the second one, I noticed a message saying that there was no licenses for this server (for RDS) and it will stop working after 119 days. Obviously there were licenses on the Licensing server, but for some reason this server couldn’t communicate to it to find out.
When checking the RD Licensing Diagnoser, it confirmed that there was no licensing server linked to this Session Host. I had a look online for a way to set this up using the GUI (on either the RDS Gateway/Licensing Server, or the Session Host, but couldn’t find anything.
It’s a nice and simple command (there’s actually two of them) that is done through PowerShell to get it all working. The command is the following:
Command #1
$obj = gwmi -namespace “Root/CIMV2/TerminalServices” Win32_TerminalServiceSetting
Command #2
$obj.GetSpecifiedLicenseServerList(“license.contoso.com”)
“License” is the name of the RDS License Server in the environment.
After doing this, all I had to do was refresh the RD Licensing Diagnoser, and it accurately reflected the licensing server, and the amount of licenses I had etc.
Backup Exec causing Hyper-V checkpoint build up
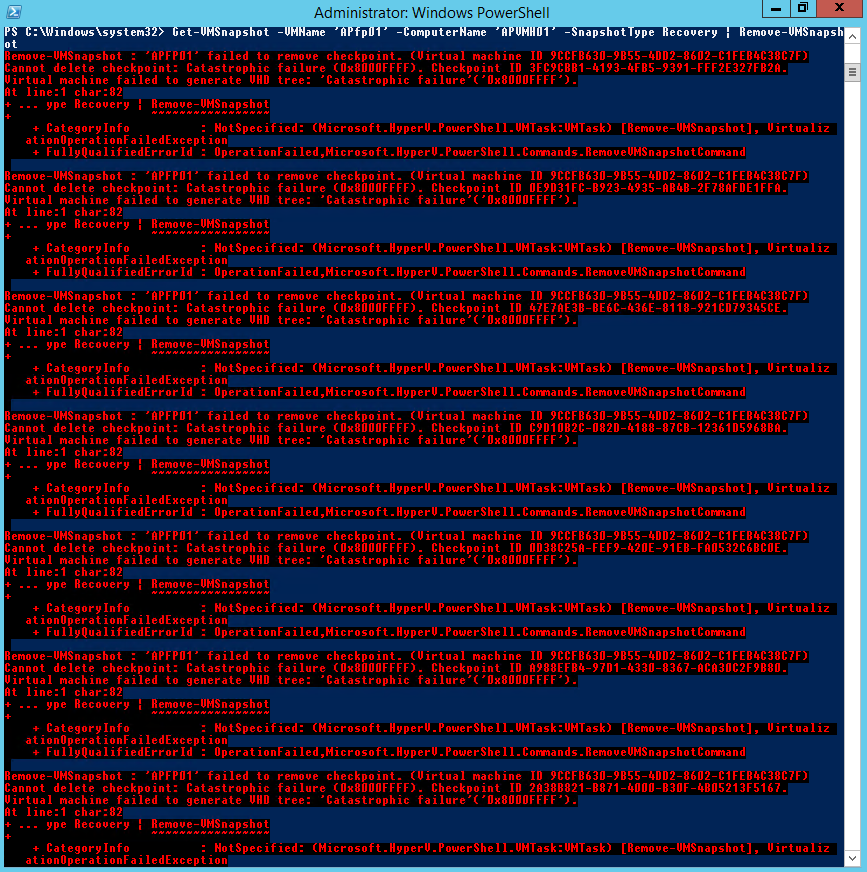
Recently when deploying a new network for a client, we installed Backup Exec 15 to run backups of their Virtual Machines from Hyper-V. The backups were working fine, but I noticed that for one VM, there was an excessive amount of checkpoints created, around the time that BE backs up each night.


This command worked well for all the VMs, except APFP01, which had the multiple checkpoints. I got the following error message when I ran that command:
Windows 10 Start Menu not responding
Whilst at a client’s office rolling out new infrastructure, I noticed that logging into all W10 machines caused some issues with the Start Menu. Clicking on the Start Menu simply wouldn’t do anything. You could right-click on it without issue, but normal click did nothing.
This started to happen to all computers for all accounts. I’d confirmed that everything was working well previously, so I started to look into whether it could be a new GPO rolled out or something like that. Not being able to pin point any GPO which could have caused the issue, I started to investigate why the Start Menu wasn’t working. Checking Event Logs, it showed that items were trying to register with the Firewall, but failing.
I checked the Services and the Windows Firewall service had actually been disabled. After enabling this again, and starting it up, everything started to work. It turns out a technician had gone through each computer and disabled the Windows Firewall service for some reason!
So if anyone has this issue with the W10 start menu, the first thing to check should be the Windows Firewall service!
Poor SMB performance on new File Server (2012 R2)
Recently upon setting up a new server environment for a client, I noticed that workstations had rather poor performance when accessing data from an SMB on the File and Print server. Transferring of data to the file server was rather slow, and opening up .exes from the network took ~50 seconds before I was prompted to run the application (not acceptable). All servers were Server 2012 R2, and it was running on a Dell R430 with Hyper-V. All the NICs are Broadcom, and the drivers were fully up to date.
After looking into this issue, I discovered that some settings on the Network Adapters needed to be changed. When checking the properties of the network adapter (in this case I had two NICs in a team, so I had to do it on both of them), go to Advanced, and set the following items to Disabled:
- Large Send Offload V2 (IPv4)
- Large Send Offload V2 (IPv6)
- TCP/UDP Checksum Offload (IPv4)
- TCP/UDP Checksum Offload (IPv6)
- Virtual Machine Queues

Exchange 2016 ECP Blank After Login
Recently I tried to log into an Exchange 2016 console, but after actually typing in my username and password, it gave a blank screen:
This happened when accessing ECP (or OWA) from the Exchange server, any other machine on the network, or even accessing it externally. Upon looking into this, I realised that there was no self-signed certificate for the Exchange server for some reason. There was an SSL cert, but no self-signed cert. This needs to be created, and added to the binding of the ‘Back End’ website within IIS.

Once this was created, and added back into IIS, and the bindings were set, ECP and OWA started to work again.
File Permissions for Specific Security Group – Power Shell Script
Recently I have needed to run a report to get a list of all files and folders on a particular drive, and the security groups that have permissions assigned to those files/folders. Upon looking into whether this was actually possible, I created a script to export a list of folders and their associated security group access.
Get-ChildItem C:\Users -recurse | ForEach-Object {Get-ACL $_.FullName} | select psPath,psParentPath,psChildName,AccessToString | Export-CSV -NoTypeInformation C:\TestExportFile.csv
This command will create a CSV file which we can use to then filter down, and get a list of all the folders that reference a particular group. In this case, I have filtered the AccessToString field, which shows the security groups, and have searched for Testing Group 1 which was my test group.


